The client
Adding a client to render and interact with your simulation
Getting started
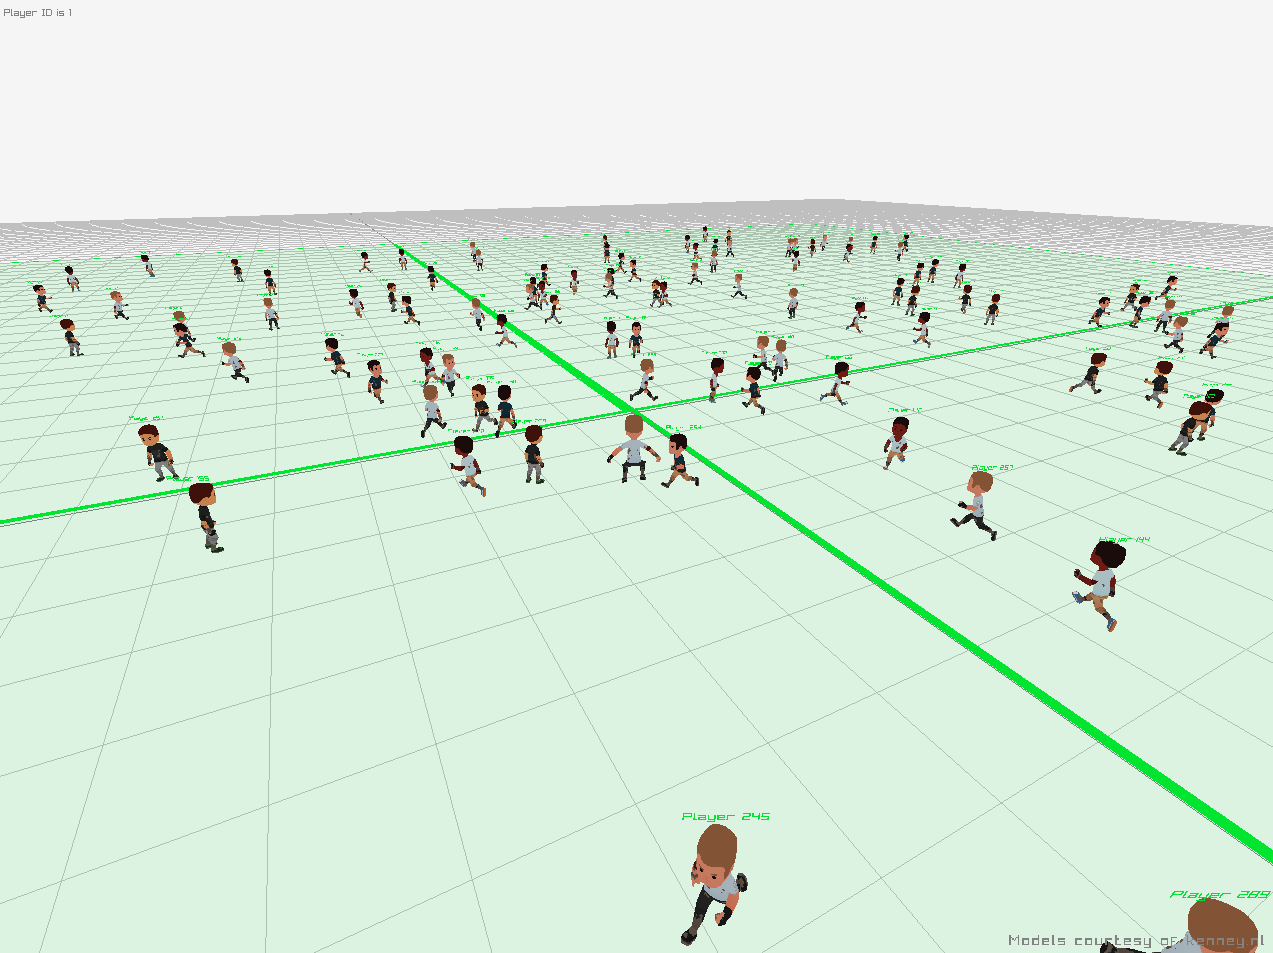
This page will build upon the simulation created on The simulation and Hadean Connect and netcode pages. You can either use those pages to build up your simulation, or download the completed Hello World project to get started.
Once you have your project available locally, open the client.cc file to get started.
Building the client
You have already seen how to build and run the project on the Hello World page. The client is also built using CMake, and to build it you should use either the Client-Debug or Client-Release build configuration inside Visual Studio. This will build the project and allow you to run it. Once your simulation is running, start the client and it will attempt to connect to the simulation on your local WSL.
The Hadean Connect Client Plugin API
Clients interact with Connect and simulation by sending and receiving network messages. This interaction is exposed to you via part of the SDK known as the Muxer Client Plugin and referenced in the code as the repclient class, provided as part of your Aether Engine SDK install.
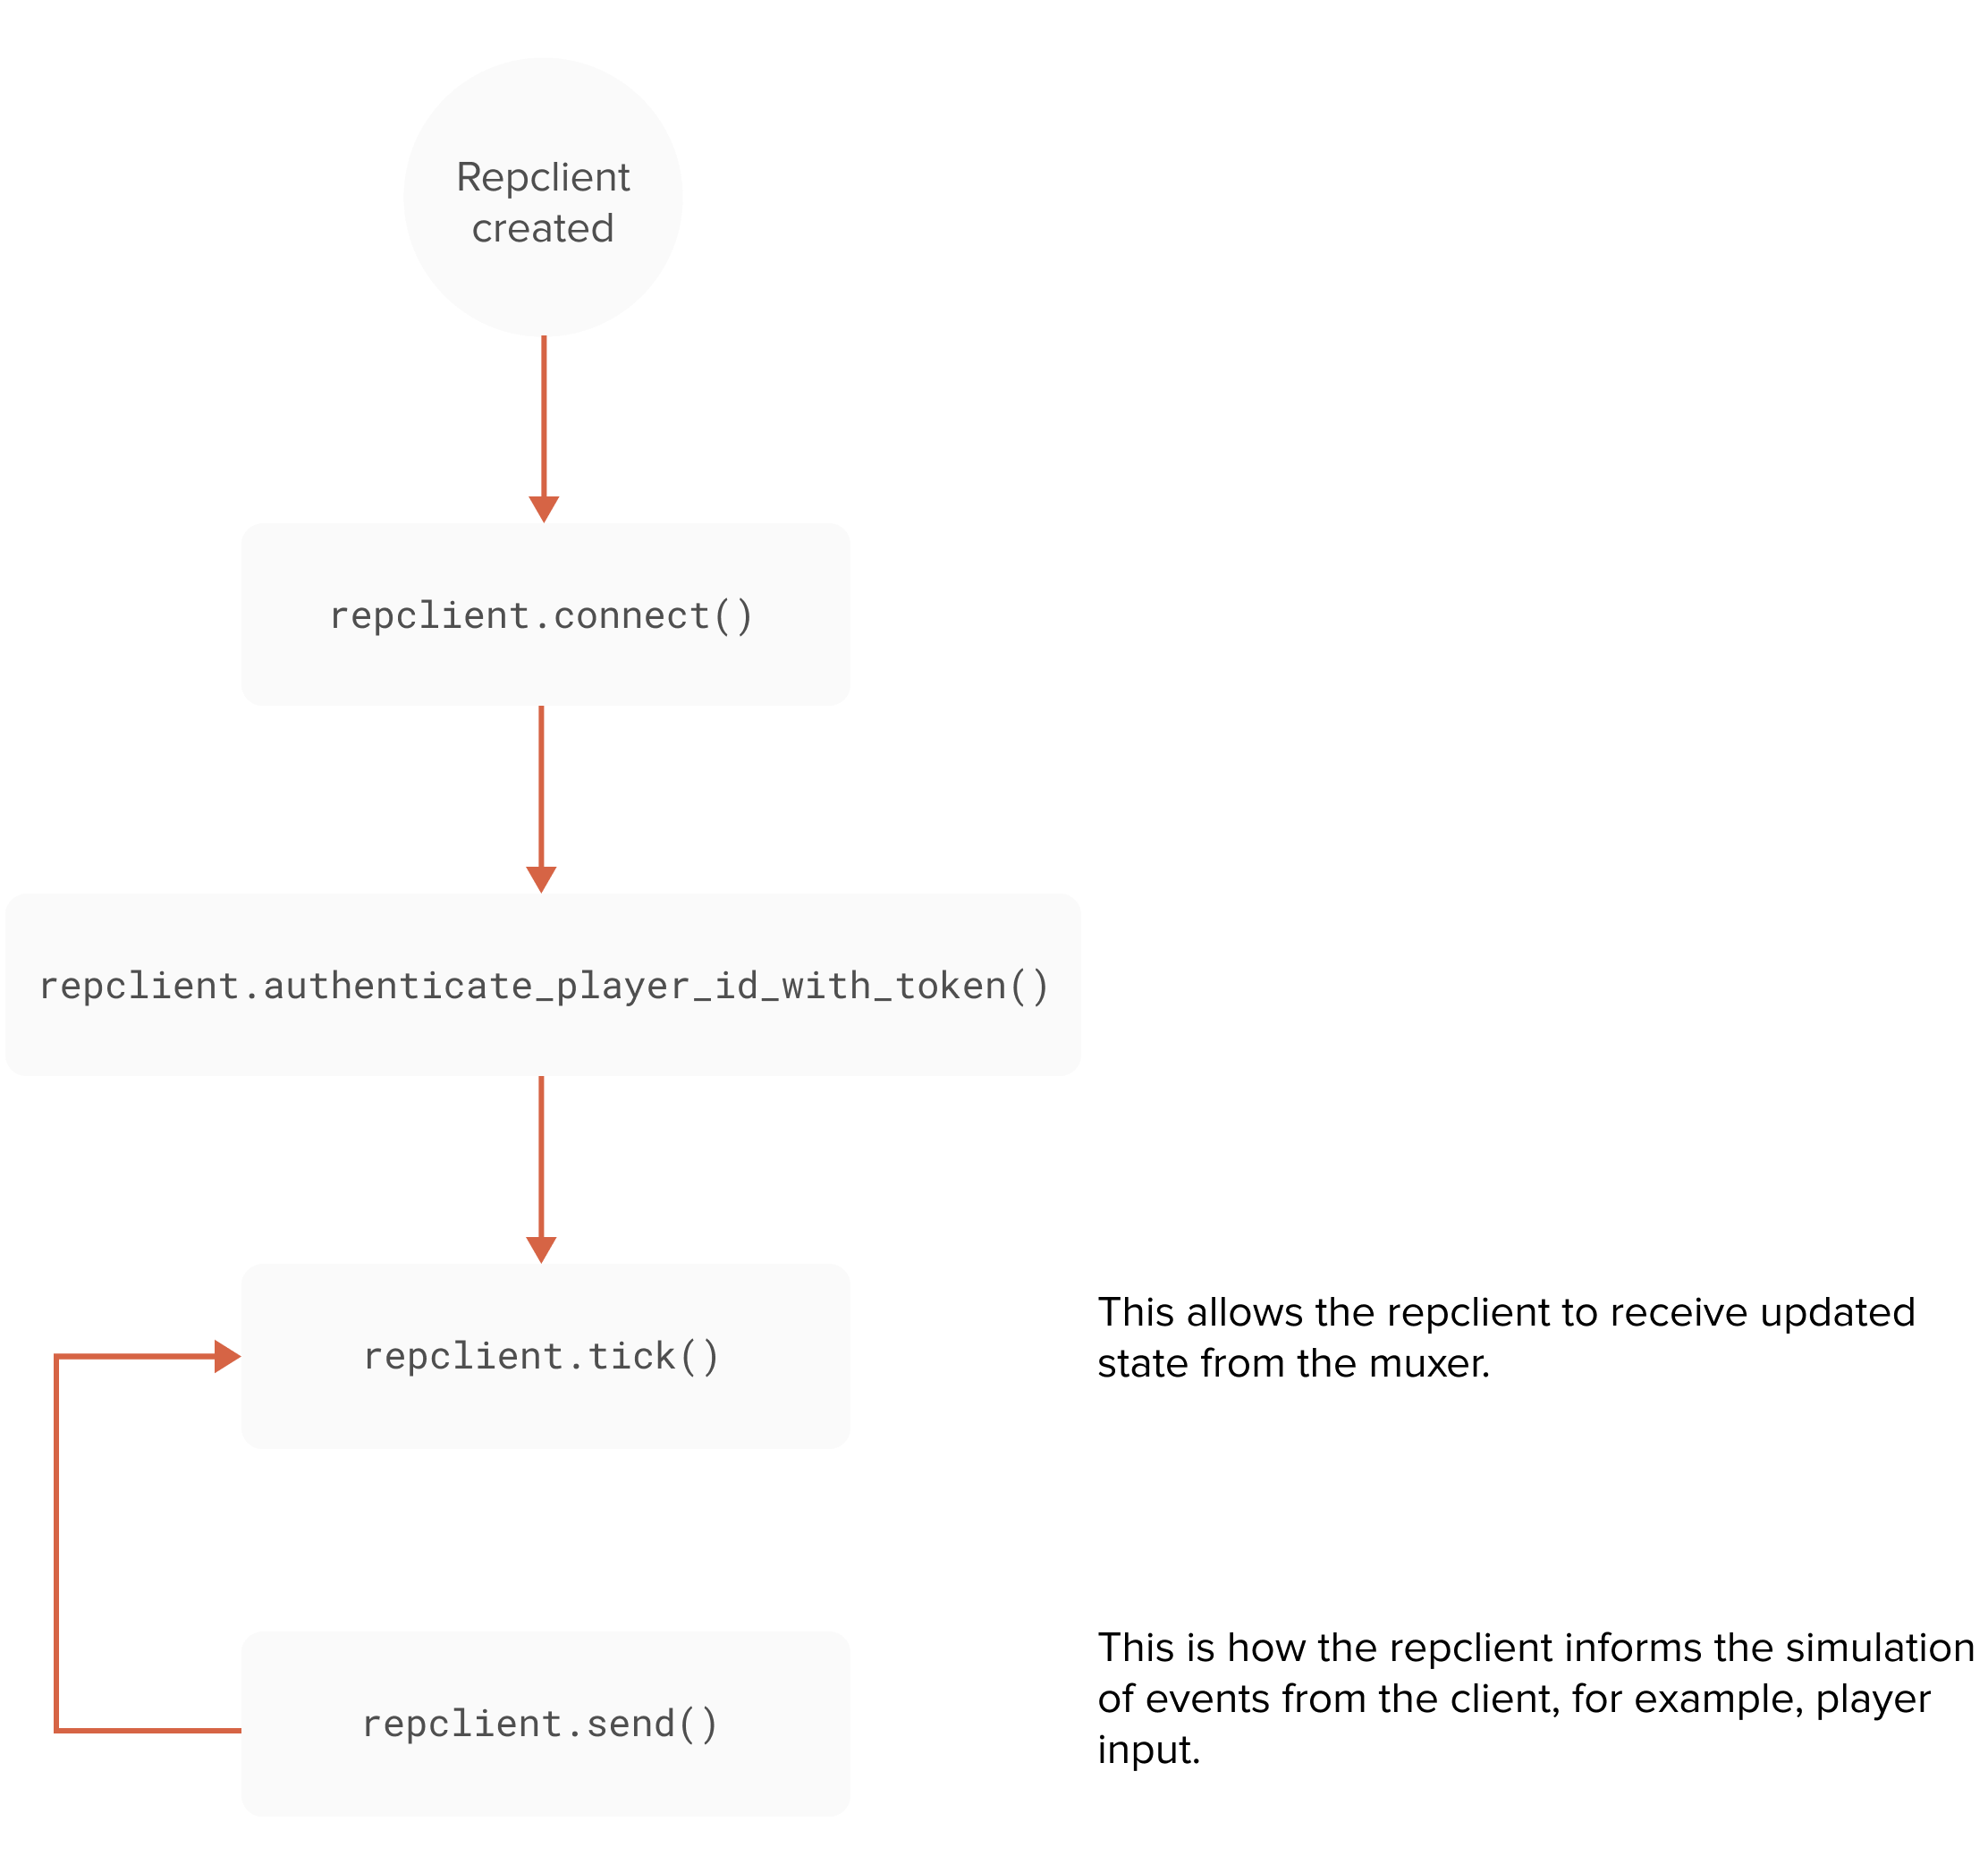
The client lifecycle is fairly simple:
Connecting to a Connect node
The Muxer Client Plugin allows a client to connect to a Connect node by calling repclient.connect(muxer_host, muxer_port) on the repclient instance. This will initiate a connection to the provided muxer. The muxer_port value should always be 8881.
It is up to your client to decide which Connect node to connect to. Typically this will require you to either find the Connect node from a service, or connect to a load balancer that will route your client to the correct node. These details are specific to your infrastructure, and so we will not cover them here.
Once connected to a Connect node, you need to assign the connection a player ID. This is used to identify the connection in Connect and the simulation. Any messages sent by this client after authenticating will automatically be associated with this player ID. You can assign a player ID to this connection by calling repclient.authenticate_player_id_with_token(player_id, token). Player IDs should be unique, as should the token.
Receiving data from Connect
Now that you have connected to a Connect node and authenticated the connection, assigning a player ID in the process, you can receive the state of the simulation.
Here we call tick() on the repclient instance to receive any available messages from Connect. We then use the demarshaller to unpack the messages and inspect the list of entities. Any dead or dropped entities are removed from the client representation of the simulation (see Hadean Connect and netcode for more details on dropped and dead entities), and any remaining entities are stored to be rendered later. The same thing is done for the list of workers in the simulation.
You should always call repclient.tick() in a loop as there may be multiple messages to receive from a node. A robust implementation will also put a time limit on how long to spend receiving data.
Each call to repclient.tick() is only guaranteed to return a partial view of the simulation state, and so you should not assume that the message received will contain all entities.
Sending messages to the simulation
To let the simulation know about an update to a client, for example some player input or a request to update some game state, you can send messages to the simulation by calling repclient.send(buffer, buffer_length). As with messages from the simulation, you are in control of the protocol here, and can choose whatever format you desire for sending messages. The repclient will accept any byte array to send to the simulation. The simulation will need to be able to interpret these messages, so whatever protocol you use should include some way of describing the type of message. Normally this will involve using some kind of message type identifier in the first few bytes of the message.
Here we send an instance of the move_event method to the simulation, populated with the latest position, rotation and active animation from the player.
For simplicity this protocol does not handle platform endian differences. As a result this code is not robust enough for true production use, where you will want to standardise on sending either little or big endian data.
Conclusion
Congratulations - you now know enough to get started with writing your own simulations in Simulate, using Connect to handle multiple client connections.
Last updated